jmpancoast
Active Member
Ignition switch relocated from neck to console on 06 SUper Glide FXDI:
This was a relatively cheap mod. Got the switch from easternperformance.com for less than $25.00 shipped. Bought a couple other things I will mention as I go through the steps I took.
I don't know if the low fuel light still works or not. I have a digital speedo/tach which doesn't have a low fuel indicator.
First thing I had to work out was how to mount it. Since the stock fuel gauge mounting bracket already screwed to the console, I started thinking about how to use it. Here is a pic of what I came up with:
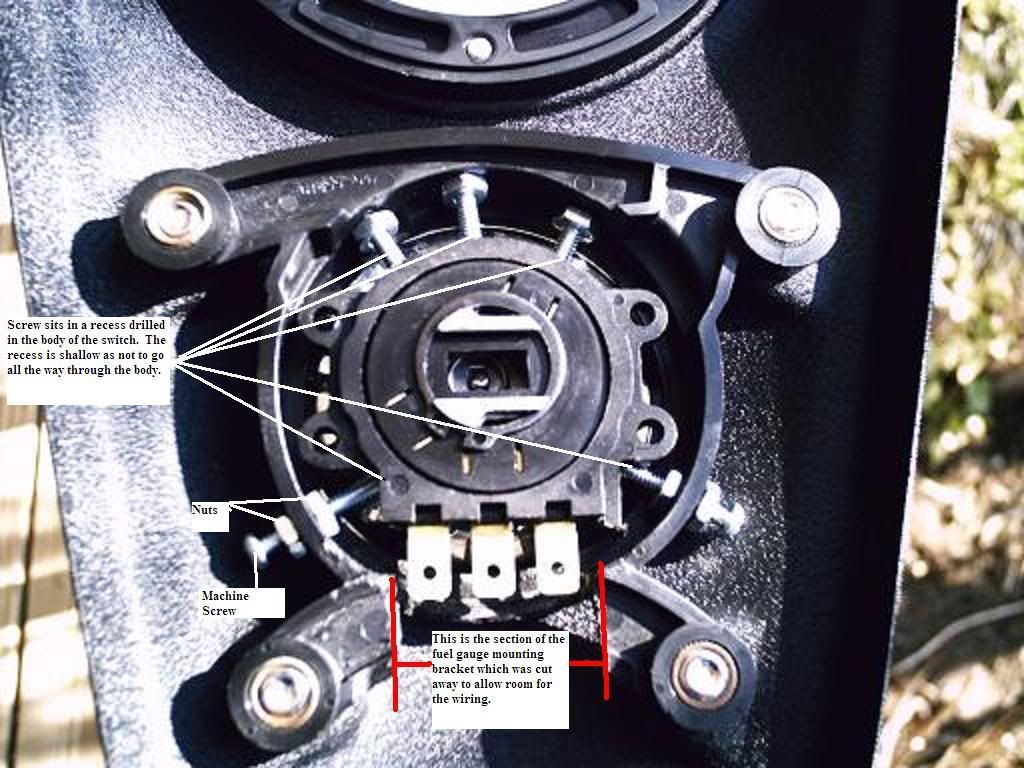
In the above pic, you can see the section I cut away to allow room for the wiring harness plug.
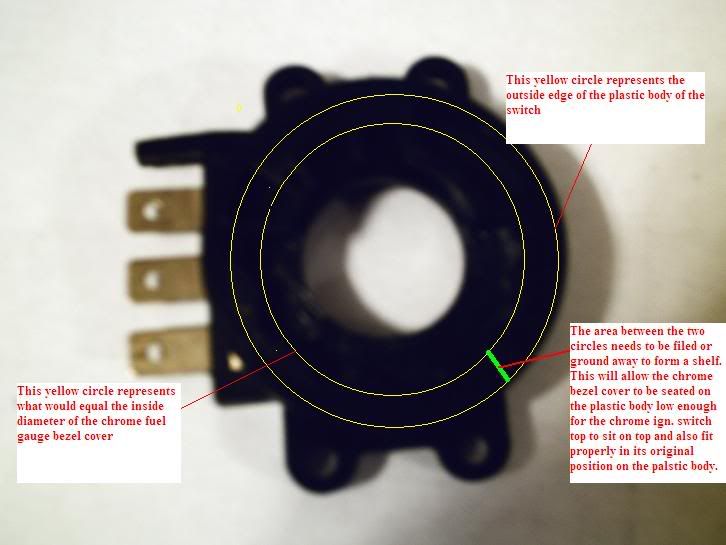
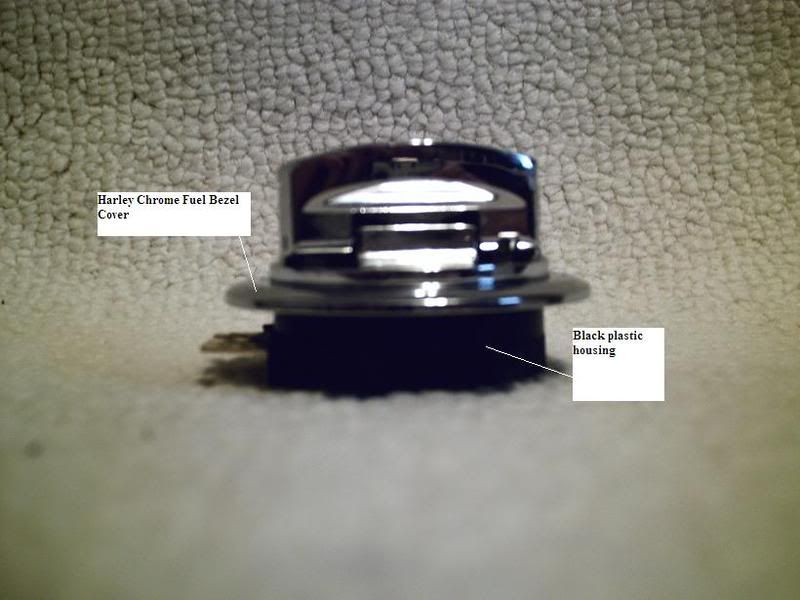
Next, the chrome top of the switch was smaller than the hole for the fuel gauge in the cosole. I bought the chrome fuel gauge bezel cover (74544-
04A) from Harley for $13.00. This filled up the difference between the hole and the switch knob. I disassembled the switch assembly to put the chrome bezel cover under the switch knob and on top of the switch body. To make room for the chrome bezel cover I had to file a "shelf" on the top of the switch assembly plastic body. I don't have a pic of this shelf, but here is a pic which will give you an idea of what I did grind to make the shelf.
Here is a pic of the chrome bezel cover fitted in the switch assembly:
I pulled the harness and plug from the stock switch in the neck and soldered in extensions so the wiring to reach the new switch on the console.
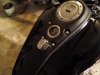
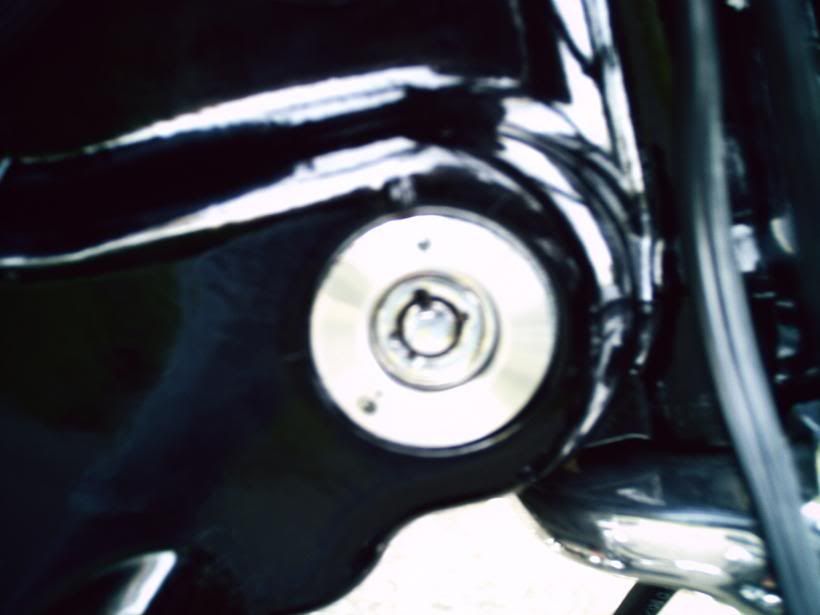
Lastly, I bought the decal (13130-06) which goes around the fork lock cylinder on a Wide Glide and applied it around my stock switch. Now it is labeled to use as a fork lock only. This decal was $4.00 from Harley.
Let me know if you have any questions. Hope you can understand what I have tried to explain here.
John
This was a relatively cheap mod. Got the switch from easternperformance.com for less than $25.00 shipped. Bought a couple other things I will mention as I go through the steps I took.
I don't know if the low fuel light still works or not. I have a digital speedo/tach which doesn't have a low fuel indicator.
First thing I had to work out was how to mount it. Since the stock fuel gauge mounting bracket already screwed to the console, I started thinking about how to use it. Here is a pic of what I came up with:
In the above pic, you can see the section I cut away to allow room for the wiring harness plug.
Next, the chrome top of the switch was smaller than the hole for the fuel gauge in the cosole. I bought the chrome fuel gauge bezel cover (74544-
04A) from Harley for $13.00. This filled up the difference between the hole and the switch knob. I disassembled the switch assembly to put the chrome bezel cover under the switch knob and on top of the switch body. To make room for the chrome bezel cover I had to file a "shelf" on the top of the switch assembly plastic body. I don't have a pic of this shelf, but here is a pic which will give you an idea of what I did grind to make the shelf.
Here is a pic of the chrome bezel cover fitted in the switch assembly:
I pulled the harness and plug from the stock switch in the neck and soldered in extensions so the wiring to reach the new switch on the console.
Lastly, I bought the decal (13130-06) which goes around the fork lock cylinder on a Wide Glide and applied it around my stock switch. Now it is labeled to use as a fork lock only. This decal was $4.00 from Harley.
Let me know if you have any questions. Hope you can understand what I have tried to explain here.
John